Inside the Lab
From Impression to Retainer
Five steps that show how a retainer is made, from the first impression to the finished appliance.
This story is for understanding only. It is not a set of instructions for making, heating, or changing a retainer at home. Placeholders mark where original photographs and short videos will appear.
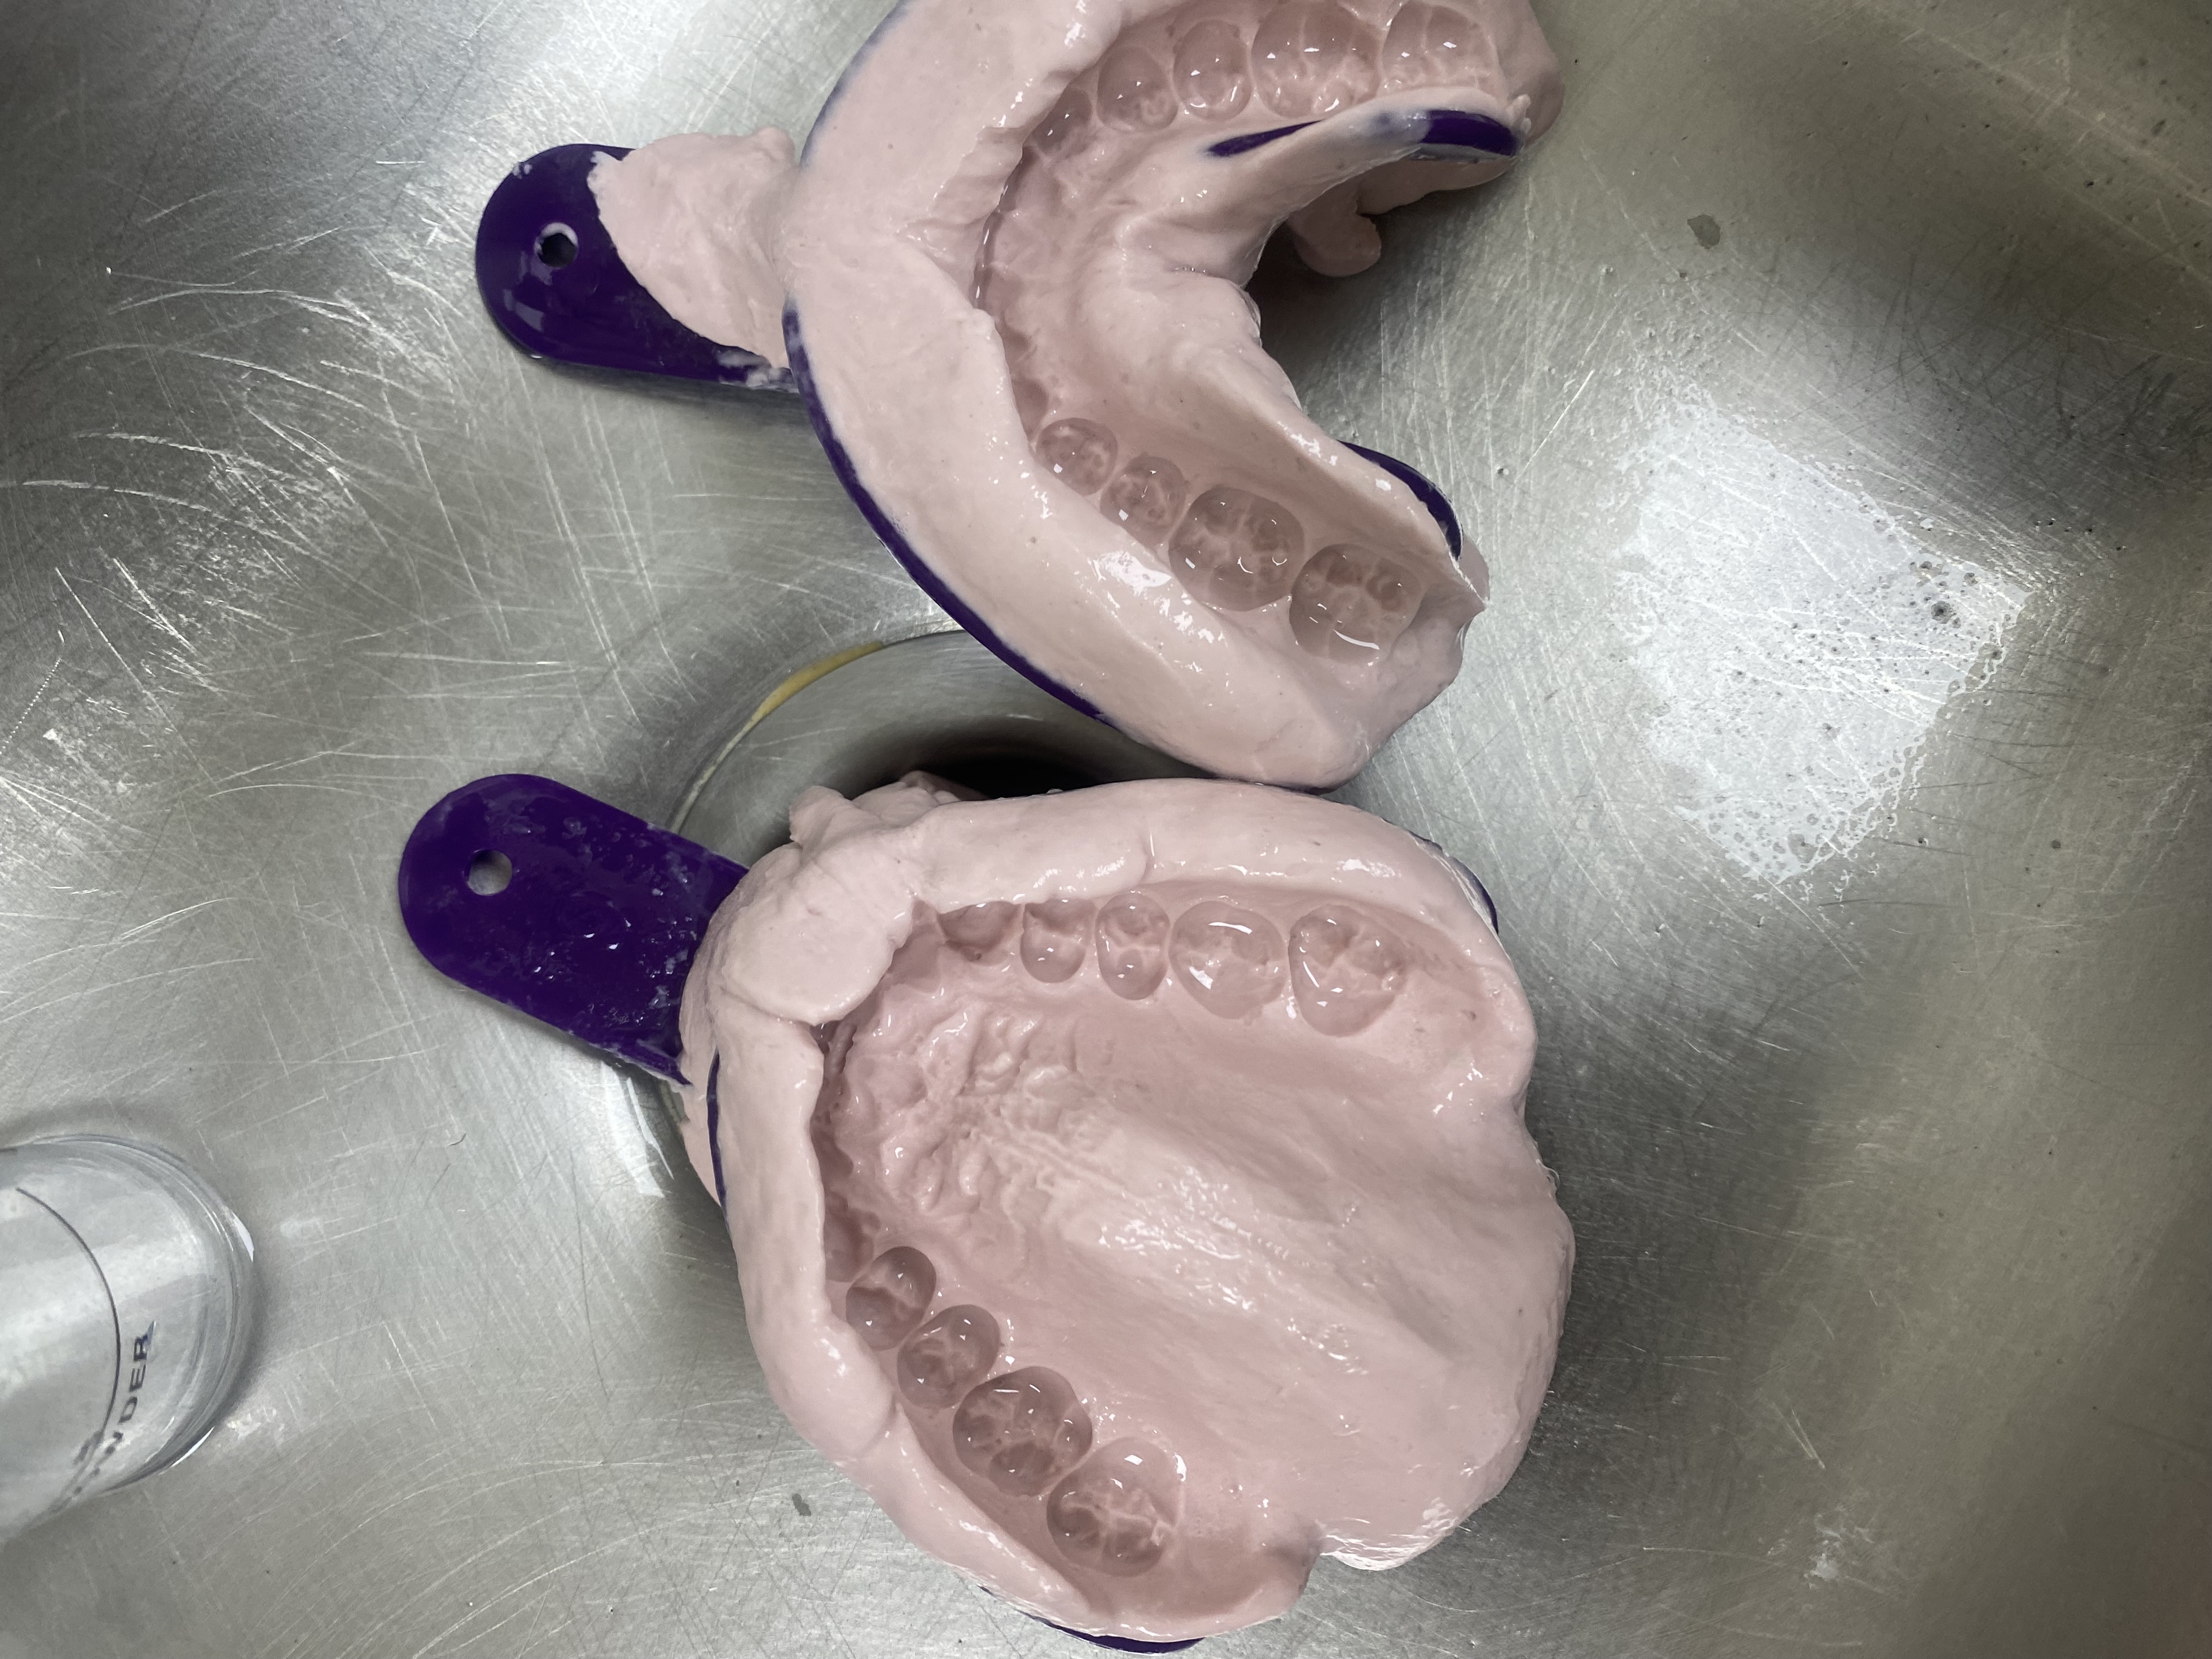
1Step 1 of 5
Dental impressions
An impression records the exact shape of the teeth and gums. Every retainer starts from an accurate record of the mouth.
Optional video, none added yet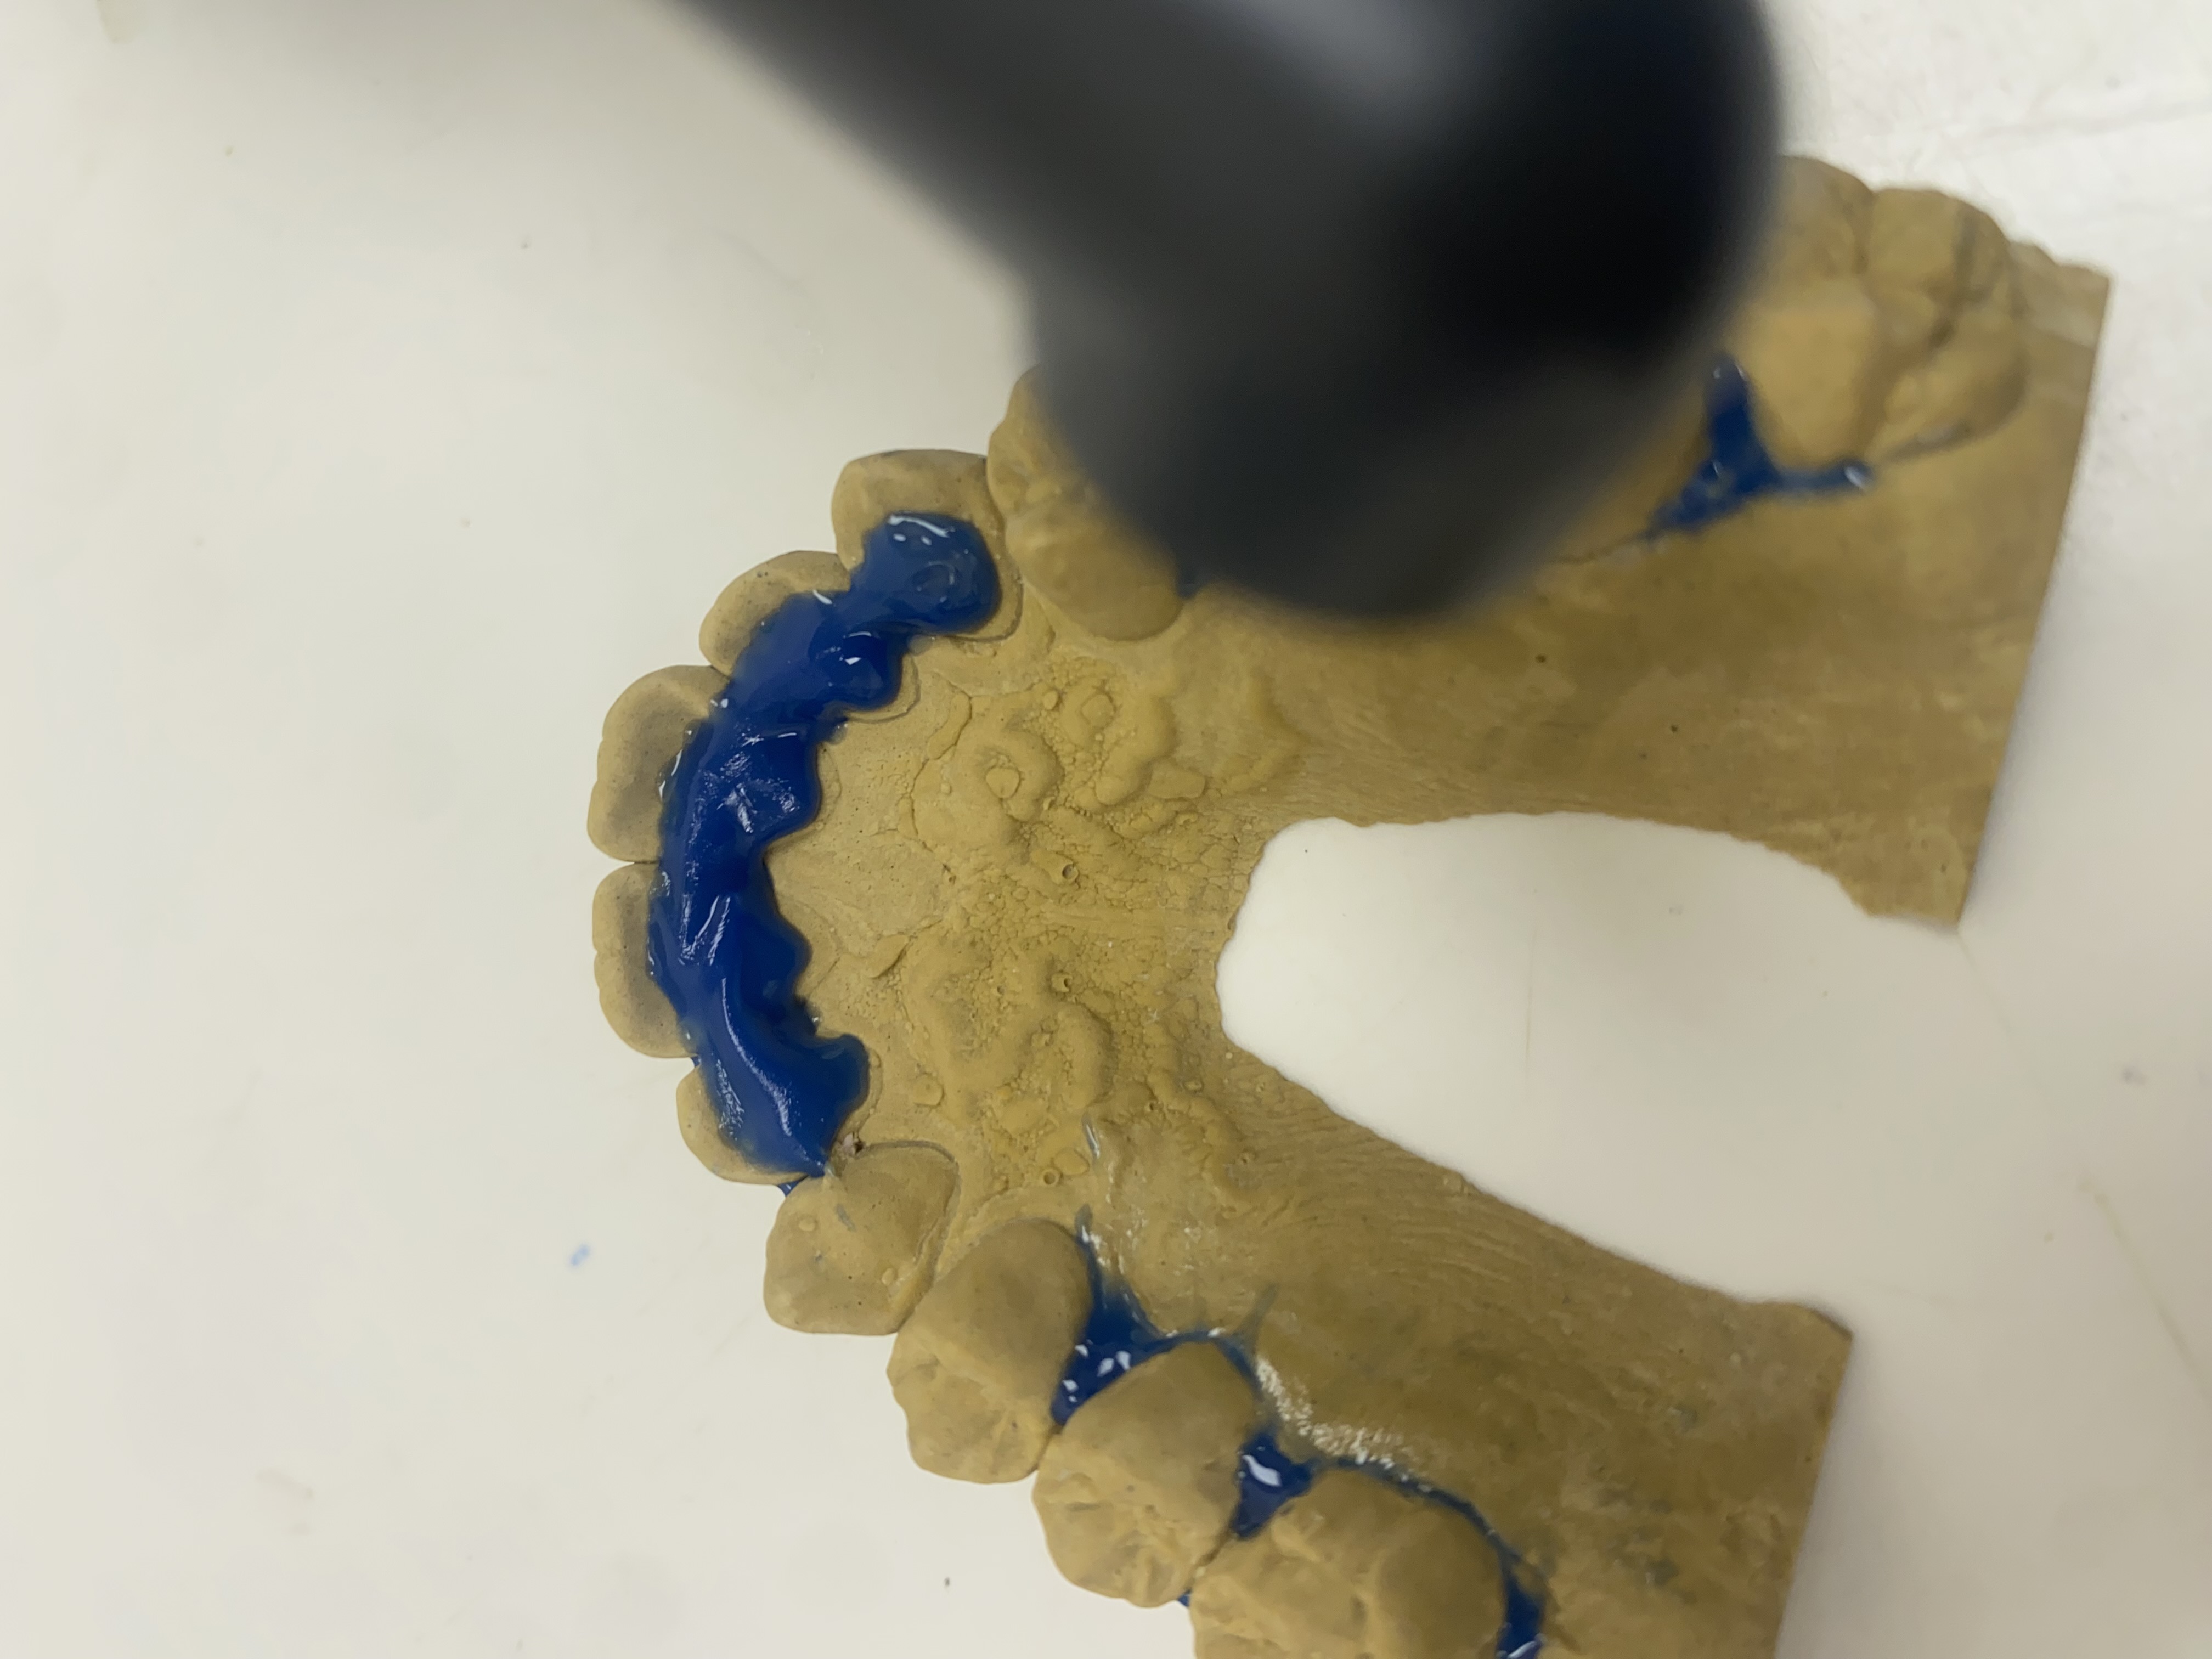
2Step 2 of 5
Preparing dental models
The impression is poured to create a physical model. The model is checked and prepared so the retainer can be formed accurately over it.
Optional video, none added yet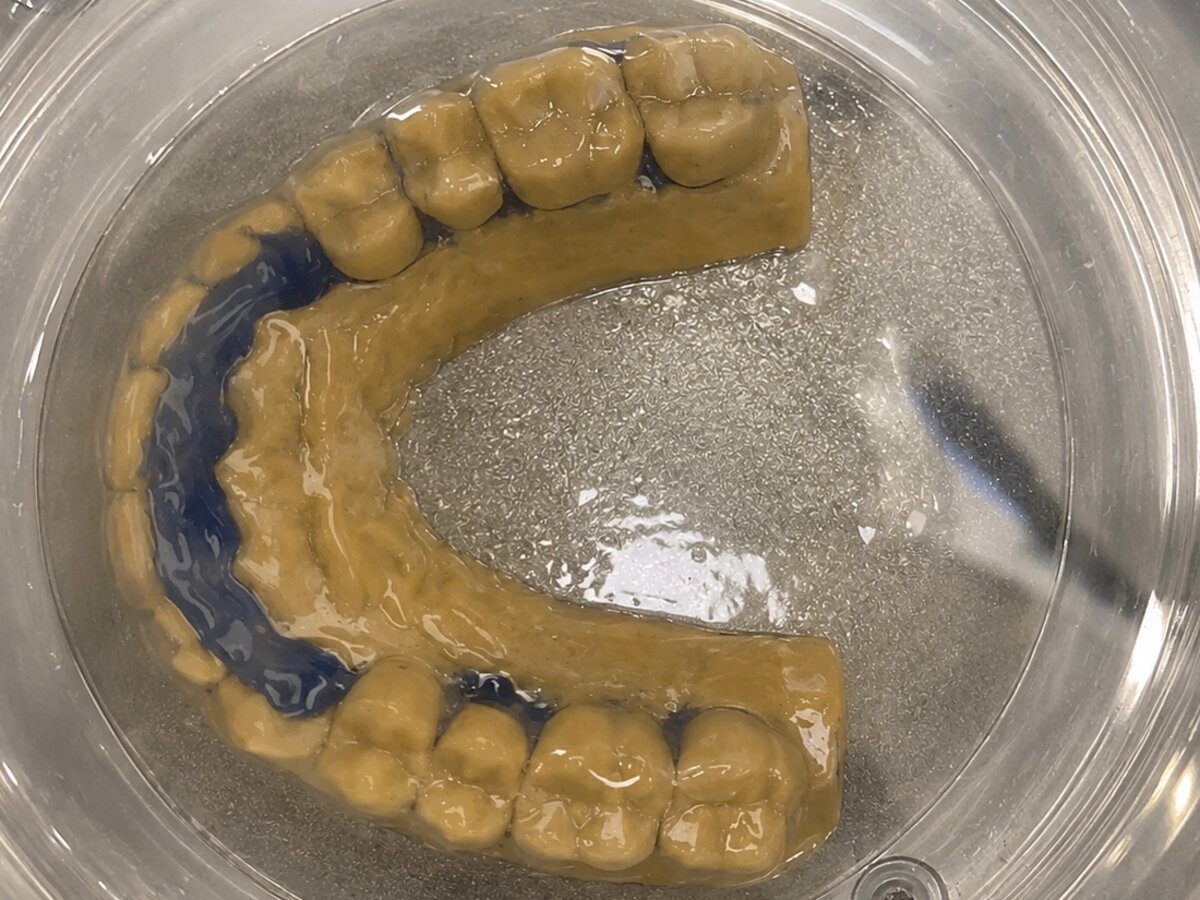
3Step 3 of 5
Forming the clear retainer
A pressure-forming machine shapes heated thermoplastic material over a dental model to create the initial retainer form.
Optional video, none added yet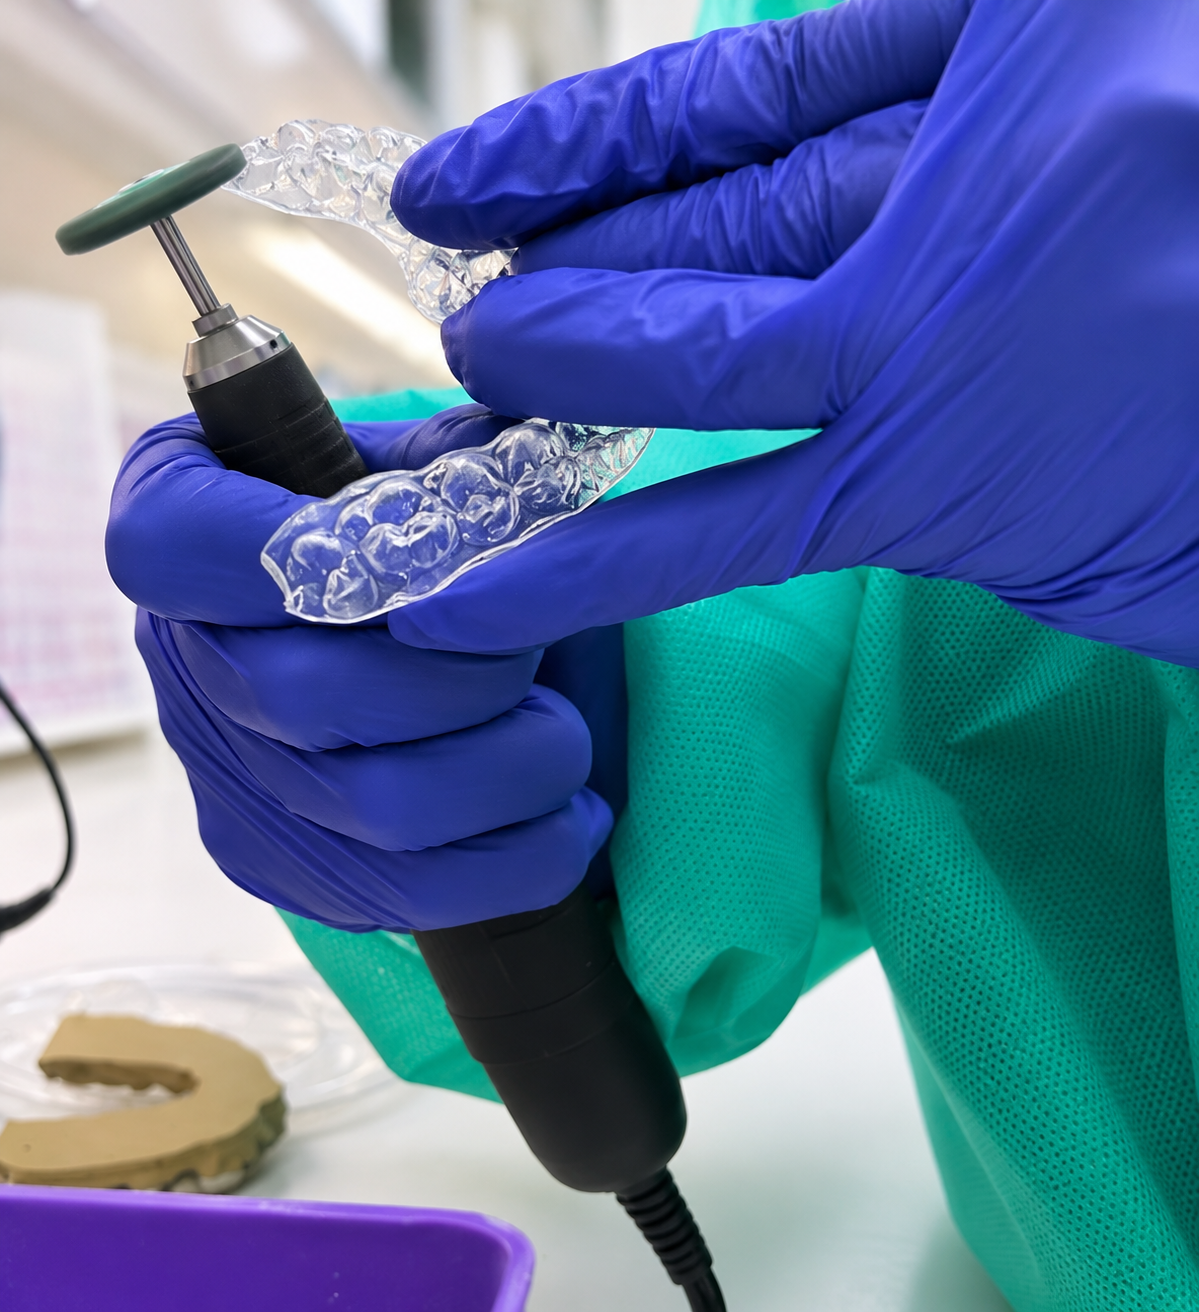
4Step 4 of 5
Trimming and finishing
The retainer is carefully trimmed and its edges are smoothed for a comfortable fit.
5Step 5 of 5
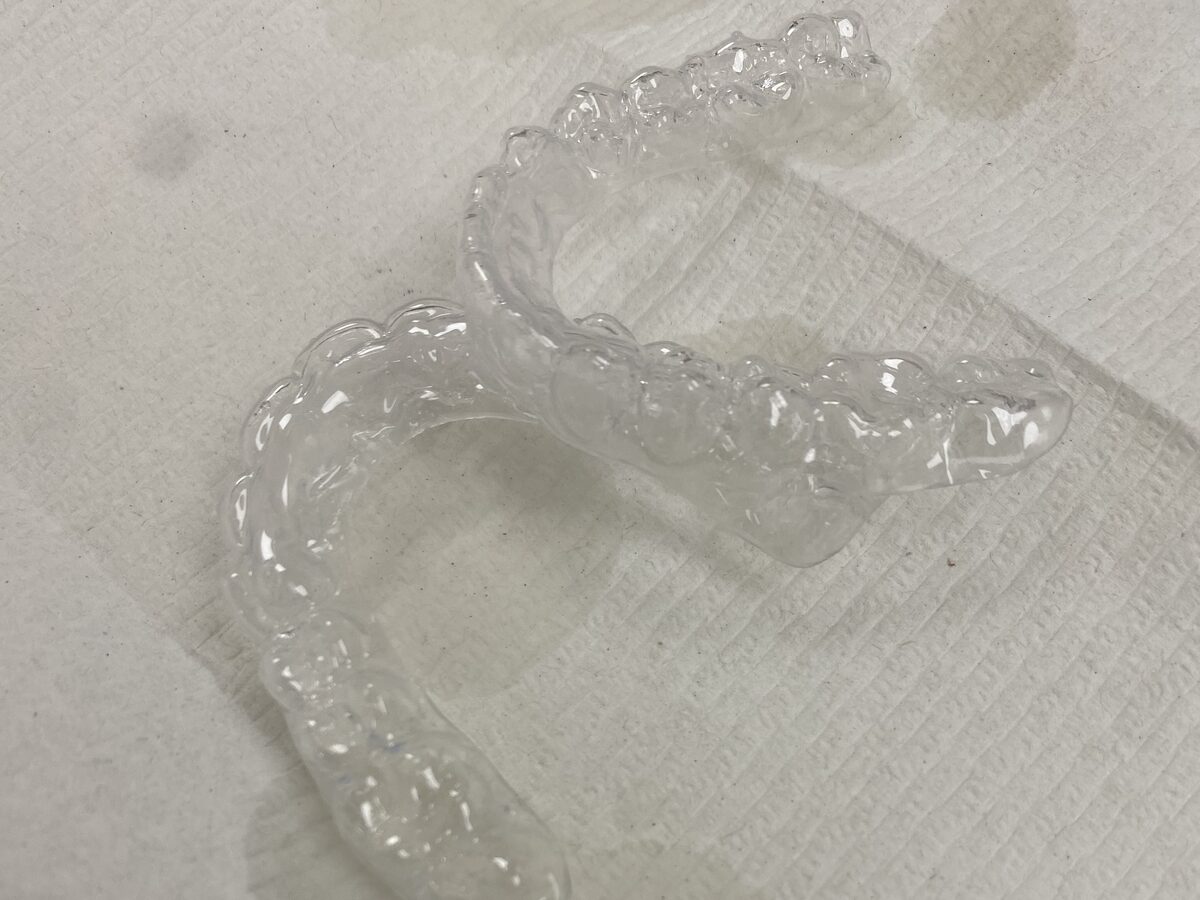
The completed retainer
The completed clear retainers are ready for the final fit and quality checks.
Optional video, none added yet
Have a question about your own retainer?
Get tailored educational guidance, then contact your orthodontic team for anything that needs a professional look.
Try the Retainer Help Tool